Types of Hyper-V scheduler for simultaneous multithreading in VMs
Hyper-V's classic and core schedulers both enable use of simultaneous multithreading in VMs, but the core scheduler prevents VMs from ever reserving an entire CPU core.
Hyper-V's classic scheduler has handled CPU scheduling tasks in the same way since its initial release in Windows Server 2008. However, Windows Server 2016 introduced a new type of Hyper-V scheduler known as the core scheduler, which provides benefits such as improved security and reduced workload variability that the classic scheduler lacks.
Although the classic scheduler remains the default in Windows Server 2016 Hyper-V, Microsoft recommends using the core scheduler, which became the default in Windows Server 2019 Hyper-V, instead.
Understand the differences between Microsoft's two scheduler types
The classic scheduler uses a round-robin approach that maps a VM's virtual processor to an available simultaneous multithreading (SMT) thread that can execute instructions on behalf of the virtual processor. Although this technique works well, especially when there are more virtual processors than logical processors, the classic scheduler does have one significant shortcoming.
Modern CPUs contain multiple cores, and when you authorize SMT, each core can execute two threads simultaneously. The classic scheduler enables admins to run two different VMs that each use a separate SMT thread on the same physical CPU core at the same time. However, two threads running on a common core share the same CPU cache. Under the right circumstances, one VM can access cached instructions belonging to a different VM.
Modern CPUs contain multiple cores, and when you authorize simultaneous multithreading, each core can execute two threads simultaneously.
Unlike the classic scheduler, Microsoft designed the core scheduler to prevent a physical CPU core from ever running threads from two different VMs simultaneously. This technique dramatically improves VM isolation, increases security and reduces workload variability.
However, in some cases, a host might not fully use its CPU resources. For example, if you enable the core scheduler for a VM and that VM only uses a single thread of execution, the VM essentially has a reservation on an entire CPU core for a very small task. Even though the VM uses only one of the core's threads, Hyper-V prevents any of the other VMs from using it. To prevent this, you must disable the core scheduler.
Get started with the core scheduler
You can enable the core scheduler through either PowerShell or the Windows Admin Center, but you cannot yet use the Hyper-V Manager for this setting.
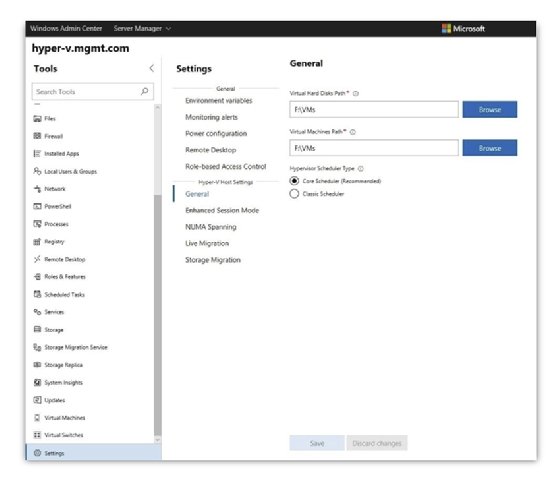
To access the core scheduler setting through the Windows Admin Center, open your Hyper-V server and click on Settings. The General section beneath Hyper-V Host Settings contains an option to choose the hypervisor scheduler type.
The Windows Admin Center provides an option to choose the scheduler that Hyper-V will use.
If you opt to use the core scheduler, then you might want to configure your VMs to use two logical processors for each core. If you run Windows Server 2019 Hyper-V and you create a brand new VM, ensure that you have already configured the VM to use both of the available virtual processors.
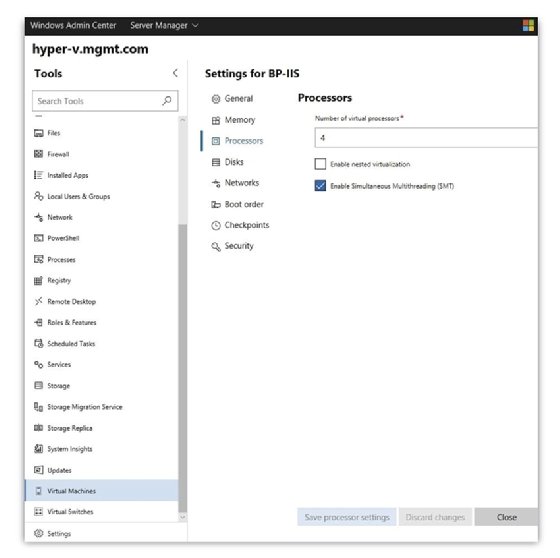
To enable support for multiple logical processors, click the Windows Admin Center's VMs tab and click the Inventory link to display a list of the VMs residing on your Hyper-V host. Next, select a VM and then click on the Settings link.
Use the
Enable Simultaneous Multithreading (SMT) checkbox to enable support for multiple logical processors.
Thereafter, click the Processors tab and select the option to Enable SMT. If you don't see this option, then you might need to upgrade or change the VM's version.
Dig Deeper on IT systems management and monitoring